Electrical relays are gadgets used to control high-electricity circuits using low-strength control indicators. They are vital additives in a extensive variety of programs, including automotive systems, industrial machines, and domestic home equipment. Like any other digital issue, relays can experience problems and fail over time, leading to gadget malfunctions. Troubleshooting and diagnosing troubles with relays calls for a scientific approach and following safe practices. Here are a few steps that will help you troubleshoot and diagnose relay troubles:
1. Identify the signs: Before beginning the troubleshooting process, collect all of the vital statistics approximately the symptoms and conduct of the relay and the related circuit. This can encompass problems together with intermittent operation, failure to function, or incomplete switching.
2. Safety precautions: Ensure that you have appropriate protecting gear and take important precautions to avoid electric shocks or accidents at some point of the troubleshooting technique. Always work on de-energized circuits and follow exceptional practices for electric safety.
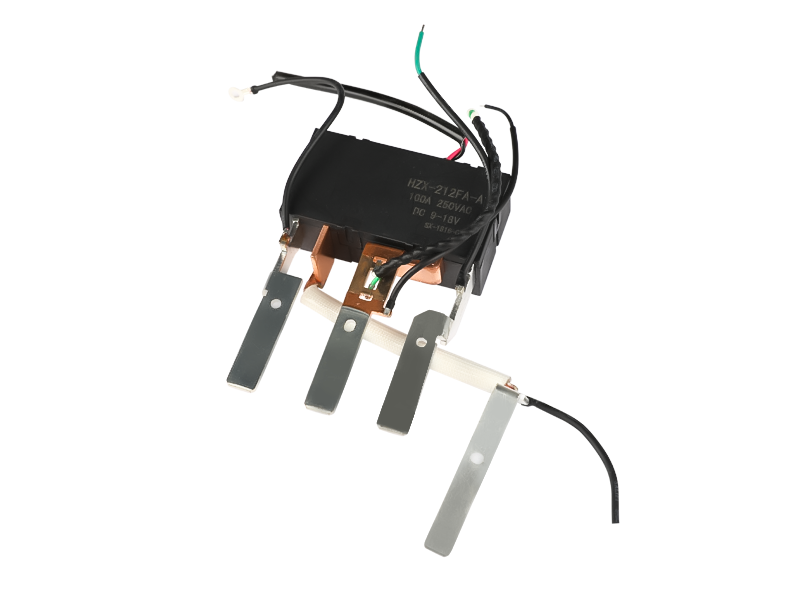
Three. Visual inspection: Begin by means of visually analyzing the relay and its associated circuit. Look for symptoms of harm, free connections, burned additives, or bodily defects. Pay special interest to the coil and call terminals as they are prone to troubles.
Four. Testing the coil: Use a multimeter to degree the resistance across the coil terminals. Compare the measured resistance with the relay's specifications, as a huge deviation can suggest a faulty coil. A relay with an open coil will fail the resistance check, even as a shorted coil will yield very low resistance.
5. Testing the contacts: The contacts within the relay can come to be worn or oxidized over the years, leading to terrible performance or failure. To check the contacts, use the continuity function of a multimeter to test for correct continuity when the relay is energized. Ensure the contacts are easy and loose from any debris that would avoid their operation.
6. Voltage checking out: Check the voltage deliver to the relay and make certain it's far in the detailed range. A voltage drop under the minimum required degree can prevent the proper operation of the relay.
7. Load trying out: If the relay controls a load, test the burden resistance or impedance. A load with very low resistance or a brief circuit can motive immoderate modern-day flow and harm the contacts or the relay coil. Use the perfect load testing approach to affirm the load's circumstance.
8. Replace or repair: Based on the troubleshooting steps, determine whether the relay is defective or if the problem lies some place else in the circuit. If the relay is defective, replace it with a new one of the equal specifications. If possible, attempt substituting the relay with a acknowledged running one to affirm the issue lies with the relay.
Nine. Functional checking out: After replacing or repairing the relay, behavior a functional test to make sure right operation. Verify that the relay switches on and stale as expected and that the associated circuit features effectively.
10. Documentation and preventive measures: Document the troubleshooting process, together with the signs, steps taken, and the final decision. This file can be valuable for destiny reference and troubleshooting. Consider implementing preventive measures, along with ordinary relay renovation, right electric protection, and monitoring, to avoid ability issues inside the future.
It's critical to word that troubleshooting and diagnosing electrical relays can be complicated, especially in tricky structures. If you are uncertain or no longer assured for your talents, it is really useful to are searching for help from a certified professional or an electrician for their information.


 English
